How to Create an Illustrated Lemur Character: Step-by-Step Tutorial
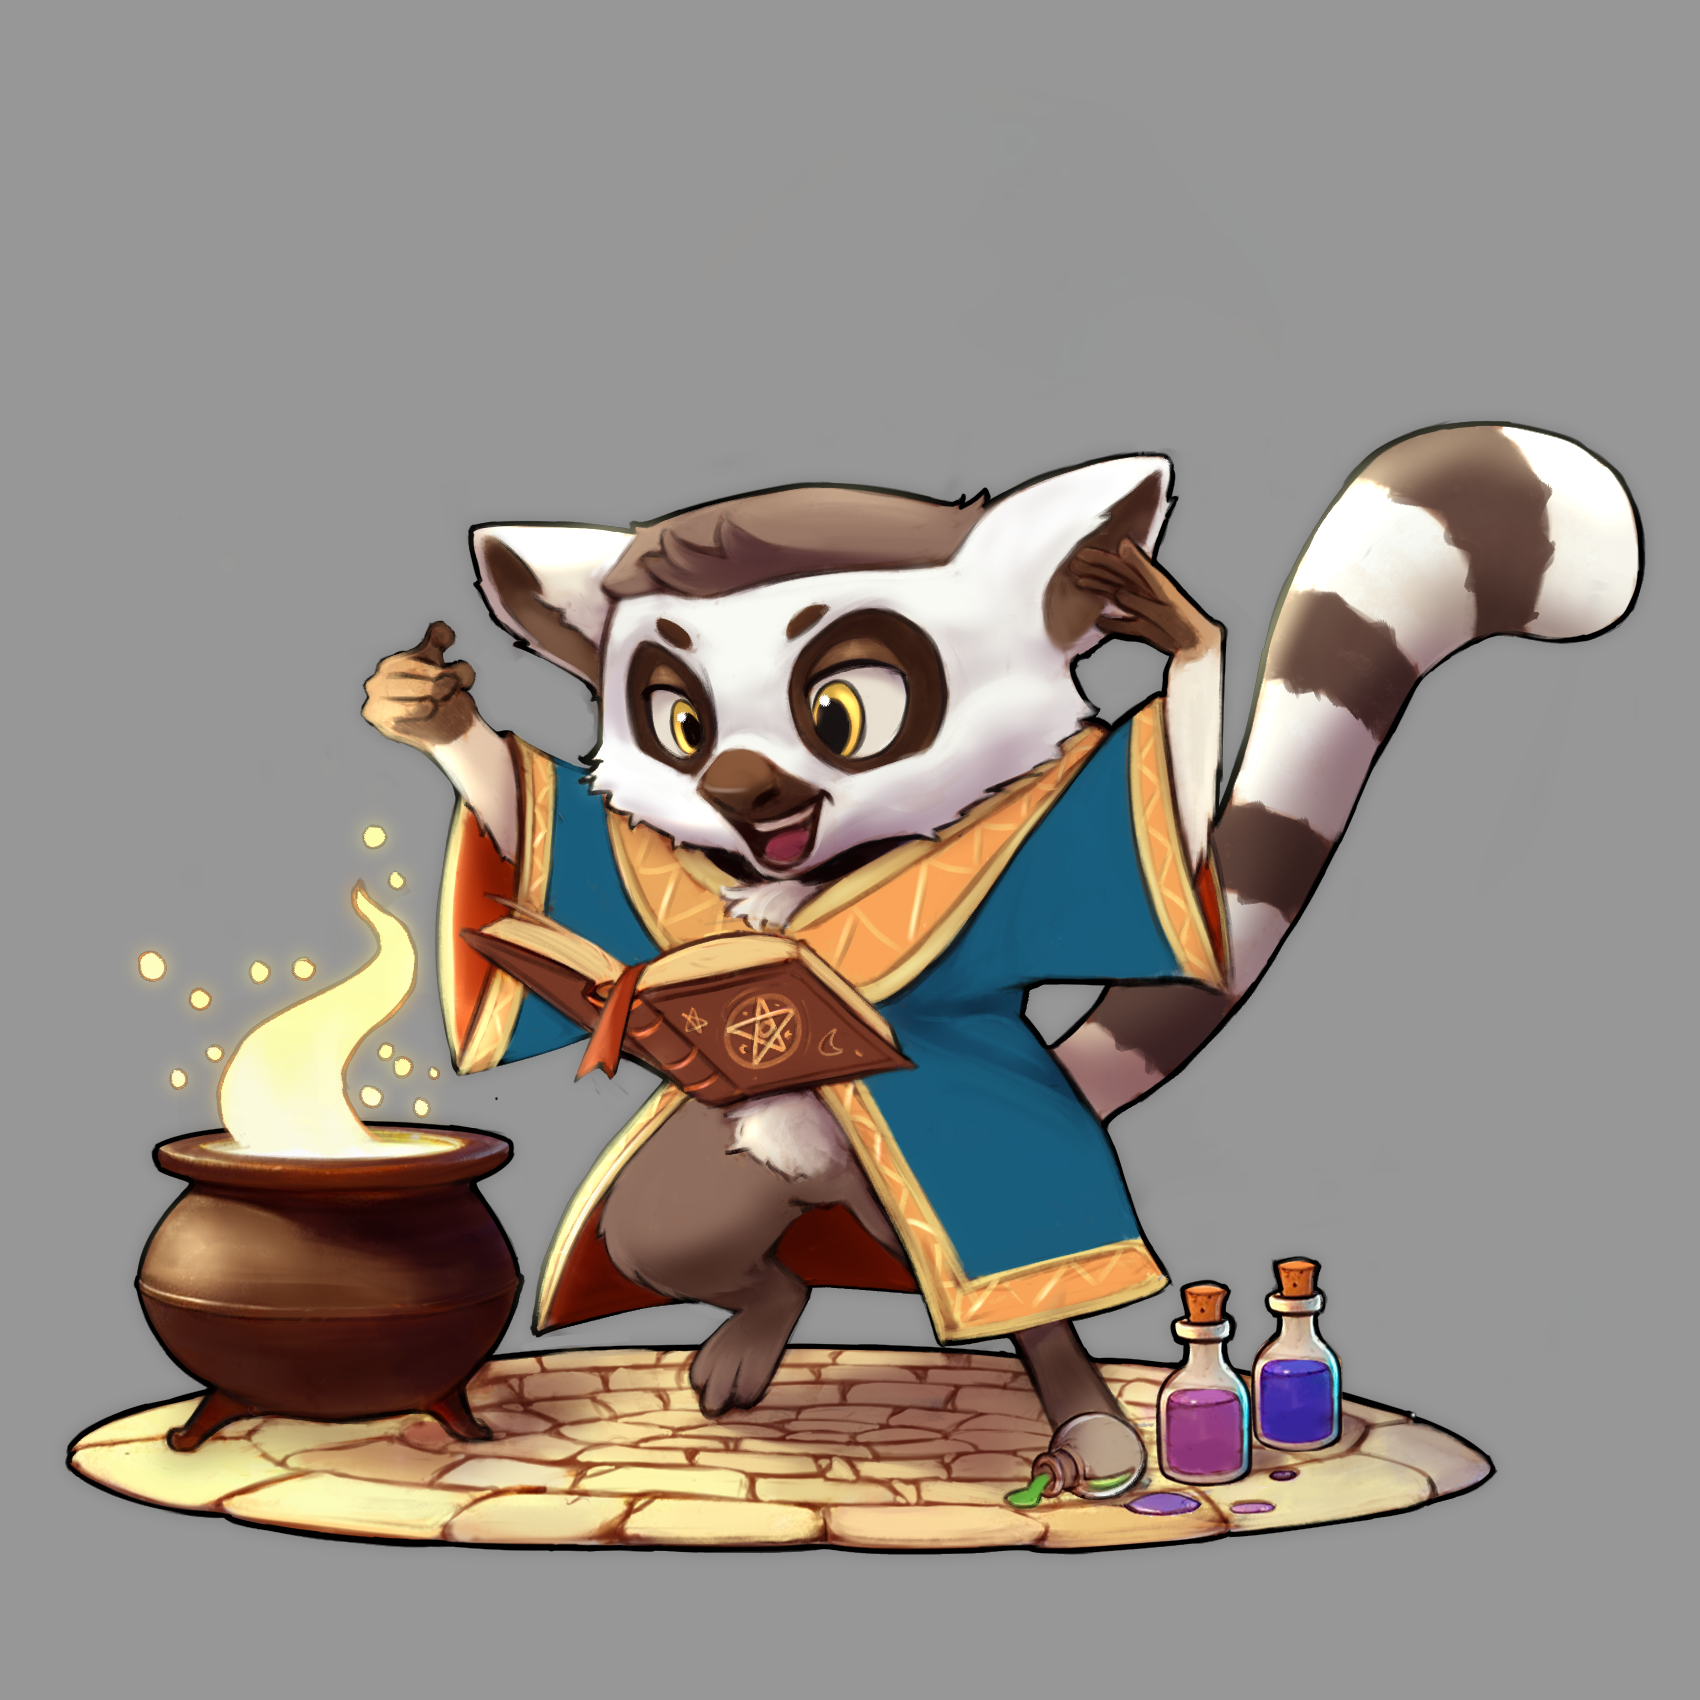
Creating a charming character illustration involves a structured process. In this tutorial, I’ll show you how I created a magical lemur character illustration using Photoshop. You’ll learn the steps from sketching to rendering. Let’s dive in!
Step 1: Sketching the Character
- Goal: Capture the character’s pose and energy.
- Tools: A basic round brush or a pencil brush.
Start by blocking the basic shapes and gesture of your character. In this case, I sketched a lemur wearing a magical robe, standing beside a bubbling cauldron. Focus on the proportions and ensure the character’s expression reflects its personality (e.g., curious or enthusiastic). Keep the lines loose, as this stage is all about experimentation.
Tip: Use references to understand animal anatomy and dynamic poses.
Step 2: Refining the Sketch
- Goal: Clean up and finalize the sketch.
- Tools: A sharper brush or pen tool.
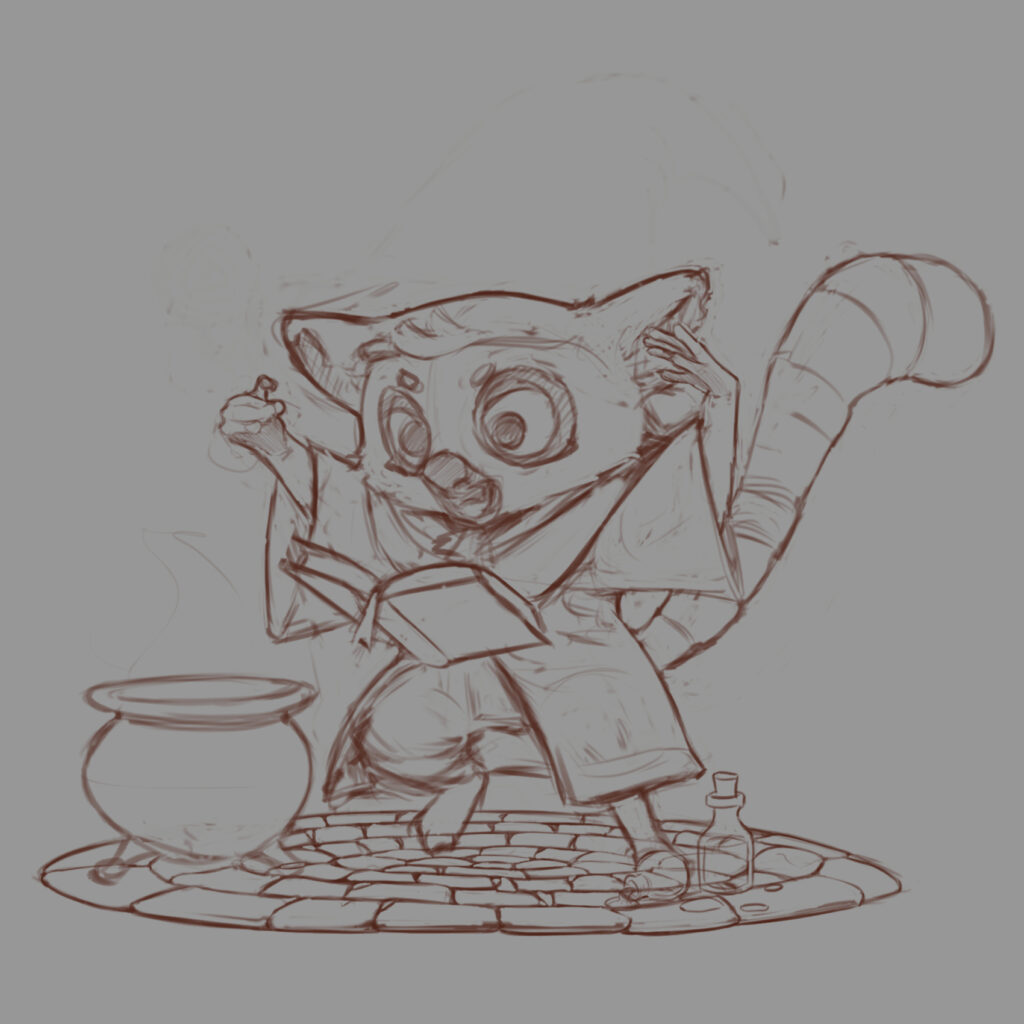
On a new layer, trace over your rough sketch with cleaner, more deliberate lines. Add details like the lemur’s facial features, fur patterns, and the folds of the robe. Include props like a spellbook, potion bottles, and the cauldron to enrich the scene.
Tip: Lower the opacity of your rough sketch layer to make it easier to trace.
Step 3: Blocking in Values (Black and White)
- Goal: Establish lighting and form.
- Tools: A soft round brush or any shading tool.
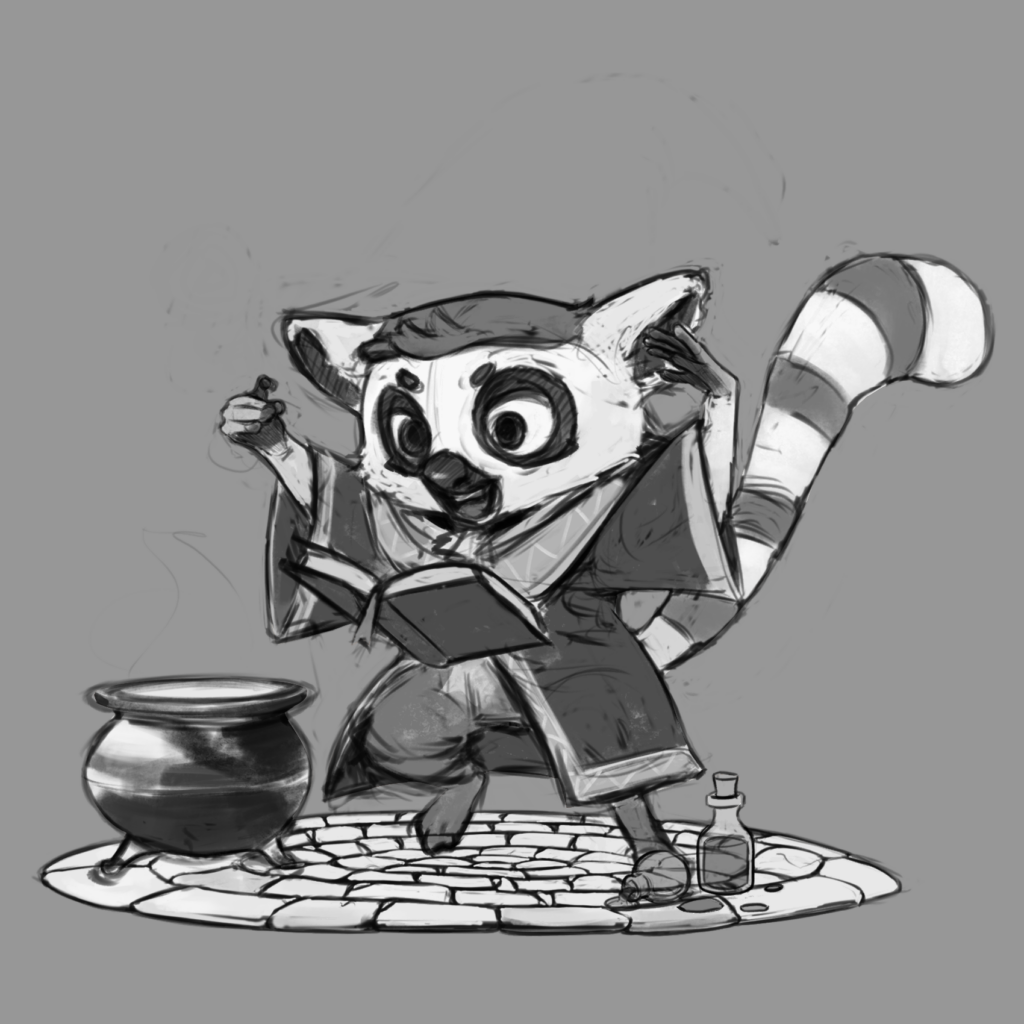
On a new layer beneath the line art, paint in grayscale. Focus on defining the light source and shadows. For this piece, I imagined the light coming from the bubbling cauldron, casting a warm glow upward.
Use darker values for shadows and lighter values for highlights, ensuring the character and props feel three-dimensional.
Tip: Squint your eyes to check the overall contrast and balance of the composition.
Step 4: Adding Base Colors
- Goal: Add flat colors to the illustration.
- Tools: Lasso tool and a hard round brush.
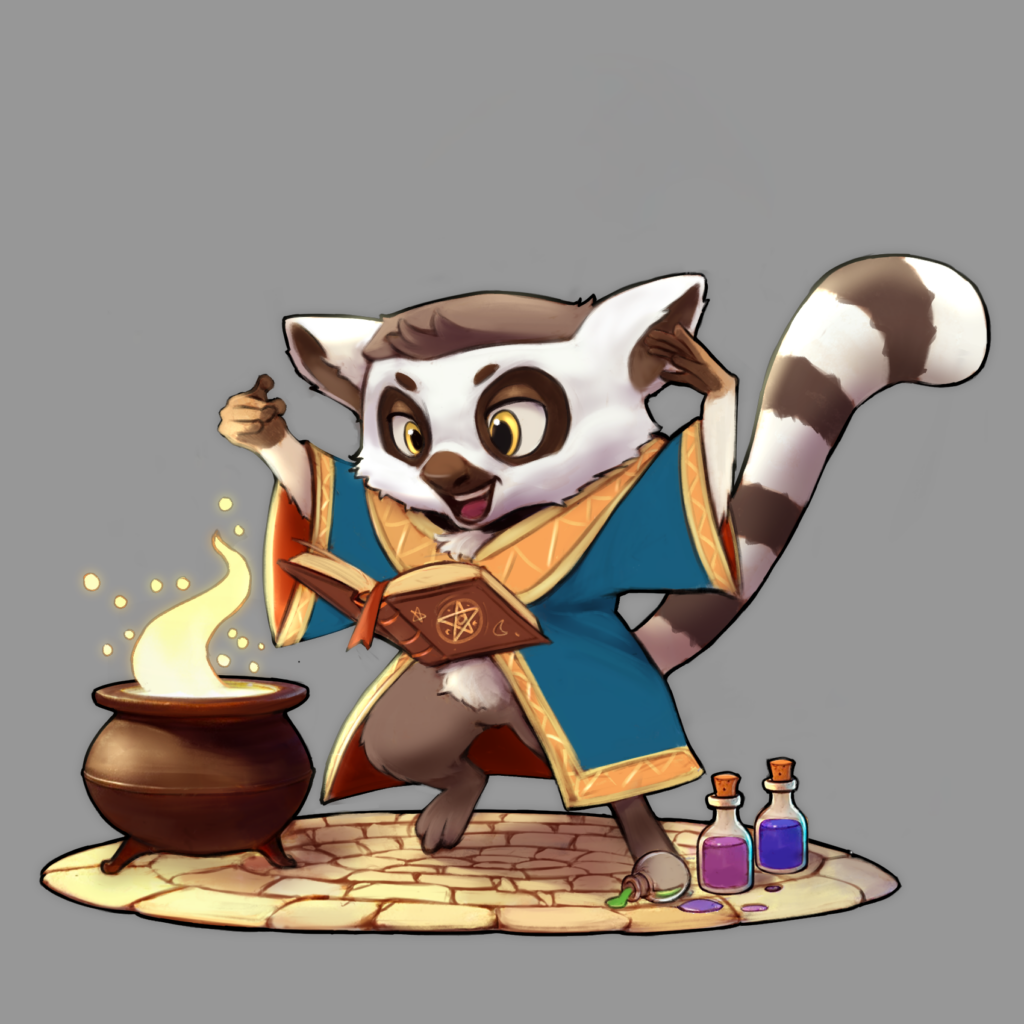
On a layer beneath the line art, fill in the flat colors of your character and props. For the lemur, I used shades of brown and white for the fur and a vibrant blue and orange for the magical robe. Add color to the background elements, like the stone floor and potions.
Tip: Use a limited color palette to keep the design cohesive.

Step 5: Shading and Rendering
- Goal: Bring the illustration to life with depth and texture.
- Tools: Soft round brush, smudge tool, and textured brushes.
On a new layer set to “Multiply,” add shadows to areas blocked by light. Then, on a “Screen” layer, add highlights. Blend the shadows and highlights smoothly to create a polished look.
For the glowing cauldron, I used an “Overlay” layer with a soft yellow to simulate its magical radiance. Enhance the potions and the spellbook with small, detailed highlights to make them pop.
Tip: Keep checking the grayscale layer to ensure the values remain balanced.
Step 6: Final Touches
- Goal: Add details and polish.
- Tools: Textured brushes, eraser tool.
Refine the edges, add fur texture to the lemur, and include glowing particles around the cauldron for a magical effect. I also added slight color gradients to give the scene more depth and vibrancy.
Don’t forget to clean up unnecessary lines or marks and ensure the focal point is clear (in this case, the lemur’s face and the cauldron).
Step 7: Exporting the Illustration
Once satisfied, flatten the layers (or save a copy) and export the image as a high-resolution PNG or JPEG for sharing or printing.
Tip: Always save a PSD file with layers intact for future edits.
Wrap-Up
This illustration demonstrates how combining character design and a magical theme can result in an engaging and dynamic piece. By breaking down the process into steps—sketching, coloring, rendering, and finalizing—you can bring your own characters to life in Photoshop.
Share your creations and tag me if you try this tutorial. I’d love to see your magical characters!

